Hardware You’ll Need
- Orange Pi Zero LTS
- 6 x female-female jumper cables (if your board does not have headers, then you need 6 x female-male)
Software You’ll Need
- Putty
- Armbian OS on Orange Pi Zero LTS
- If you have a new Orange Pi Zero without Armbian follow this guide: How to Install Armbian OS on Orange Pi Zero LTS
Disclaimer:
CAUTION: You will need to access parts of your control box that may carry high voltage. Ensure the power is completely disconnected and exercise extreme caution. I am not liable for any harm to you or your property. Proceed entirely at your own risk.
Getting Started
In the stock 2018 version Ender 3 boards, the bootloader is not present.
It is not possible to flash any firmware via USB or Micro SD, you have to flash the bootloader first.
1. Connect to Your Orange Pi Zero via SSH
- Open Putty and connect to your Pi. If you’re unsure how to do this, follow this guide: How to Connect via SSH Using PuTTY
2. Update and Install AVR Dude
Once you’re connected to your board, update the system, install AVR Dude (which is the software that will communicate with your board):
Run the following commands:
sudo apt-get update
sudo apt-get upgrade
sudo apt-get install avrdude
After installation, verify that AVR Dude is installed correctly by typing:
avrdude -v
If installed correctly, you should see something like Version x.x.x on the first line.
2. Enable SPI Interface on Orange Pi Zero LTS
Check if there is an SPI Interface enabled:
ls /dev/spidev*If something is showing like /dev/spidev1.1, you are good to go. Otherwise open armbianEnv.txt:
sudo nano /boot/armbianEnv.txtAnd add at the bottom:
overlays=spi-spidev
param_spidev_spi_bus=1
Then, reboot the system:
sudo rebootYou should now see the spidev1.1 interface by typing:
ls /dev/spidev*3. Connect Your Orange Pi Zero to the Creality Board
CAUTION: Make sure your board is not powered during this process.
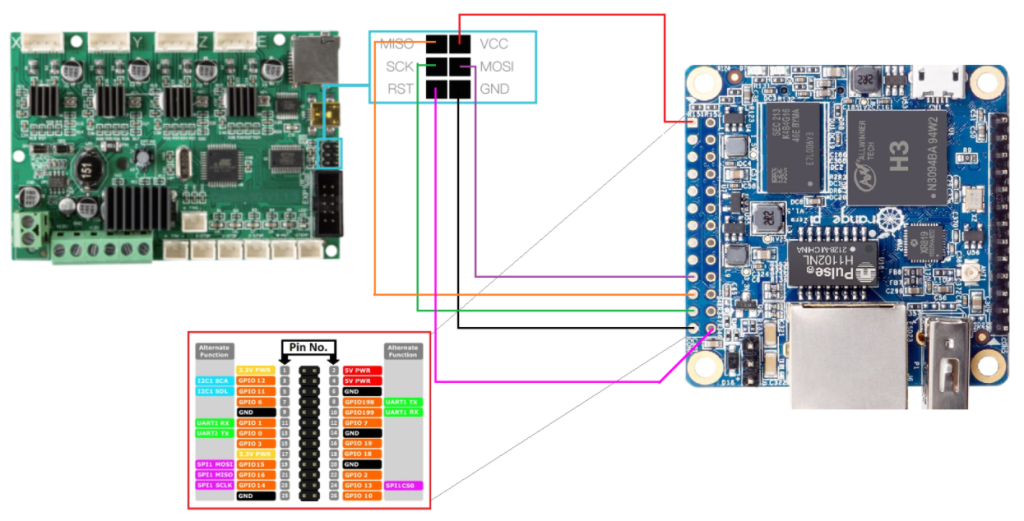
Use the GPIO pins on your Orange Pi Zero to connect to your Creality board:
| Orange Pi Pin | Creality Board Pin | Purpose |
| MOSI (GPIO 15) | MOSI | Sends data from master to slave |
| MISO (GPIO 16) | MISO | Receives data from slave to master |
| SCK (GPIO 14) | SCK | Clock signal |
| RESET (GPIO 10) | RESET | Puts the board in bootloader mode |
| 3.3V (Pin 1 or 17) | VCC | Powers the Creality board |
| GND (Pin 6 or 25) | GND | Common ground connection |
Make sure you don’t mix the pin numbers with the GPIO numbers. If you’re using a different board, search for its specific pinout.
Wire the board like this scheme, using jumper cables.
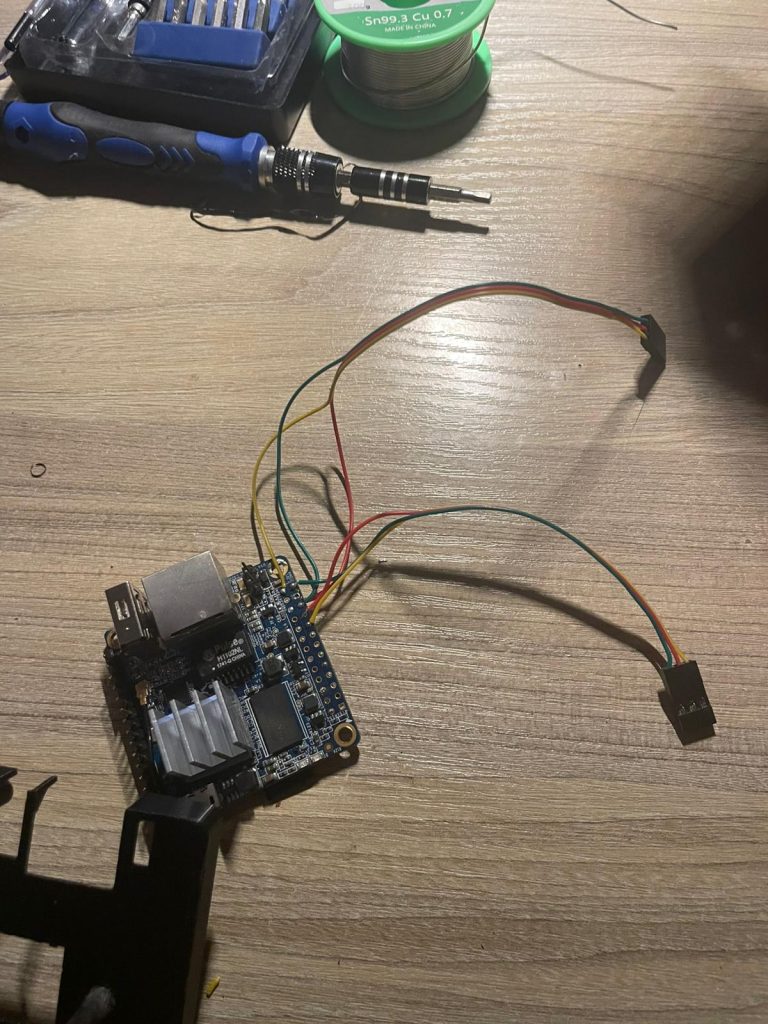
I’ve directly soldered the cables to the GPIO Pins of my Orange Pi Zero LTS. I had no jumpers, only the ones that cames from the BLTouch.
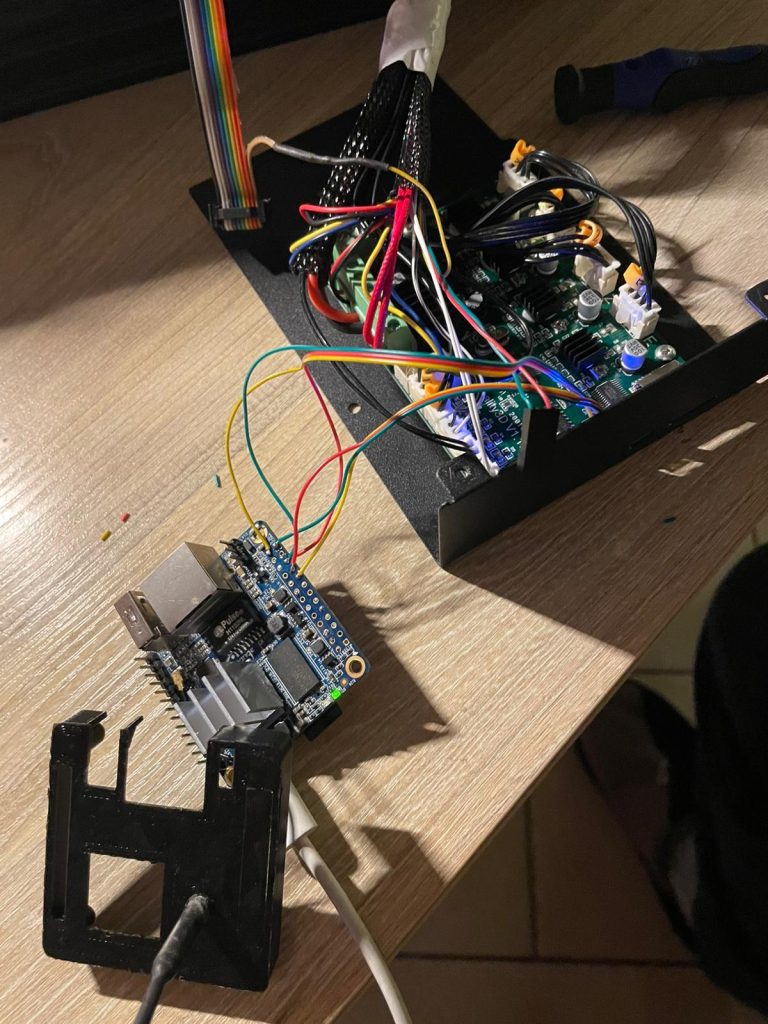
Now, if you power on your Orange Pi Zero the creality board should be powered displaying a blue light.
4. Configure AVR Dude
Next, configure AVR Dude to communicate with the board:
- Copy the default configuration file:
cp /etc/avrdude.conf ~/avrdude_gpio.confEdit the configuration file:
nano ~/avrdude_gpio.confPress CTRL + V and go at the end of the file. Then, paste the programmer configuration:
programmer
id = "pi_1";
desc = "Use the Linux sysfs interface to bitbang GPIO lines";
type = "linuxgpio";
reset = 10;    # GPIO 10 for RESET
sck   = 14;   # GPIO 14 for SCK
mosi  = 15;   # GPIO 15 for MOSI
miso  = 16;   # GPIO 16 for MISO
;- Save and exit:
- Ctrl + O (save)
- Enter (confirm)
- Ctrl + X (exit)
5. Initialize AVR Dude
To check if the Raspberry Pi can communicate with the board, run:
sudo avrdude -p atmega1284p -C ~/avrdude_gpio.conf -c pi_1 -vIf everything is connected correctly, you should see a message like “AVR device initialized and ready to accept instructions.”
If it doesn’t work, double-check your wiring.
6. Get the Bootloader HEX File
You’ll need the appropriate bootloader .hex file for your board.
Download it directly in your Orange Pi Zero LTS:
wget https://raw.githubusercontent.com/Lauszus/Sanguino/refs/heads/master/bootloaders/optiboot/optiboot_atmega1284p.hex8. Flash the Bootloader
Back in Putty, run the following command to flash the bootloader:
sudo avrdude -p atmega1284p -C ~/avrdude_gpio.conf -c pi_1 -v -U flash:w:optiboot_atmega1284p.hex:iIf your .hex file is named differently, replace optiboot_atmega1284p.hex with the correct file name.
Done! Shutdown the Orange Pi Zero and disconnect the wirings. Now you can proceed flashing a firmware like Klipper via USB.